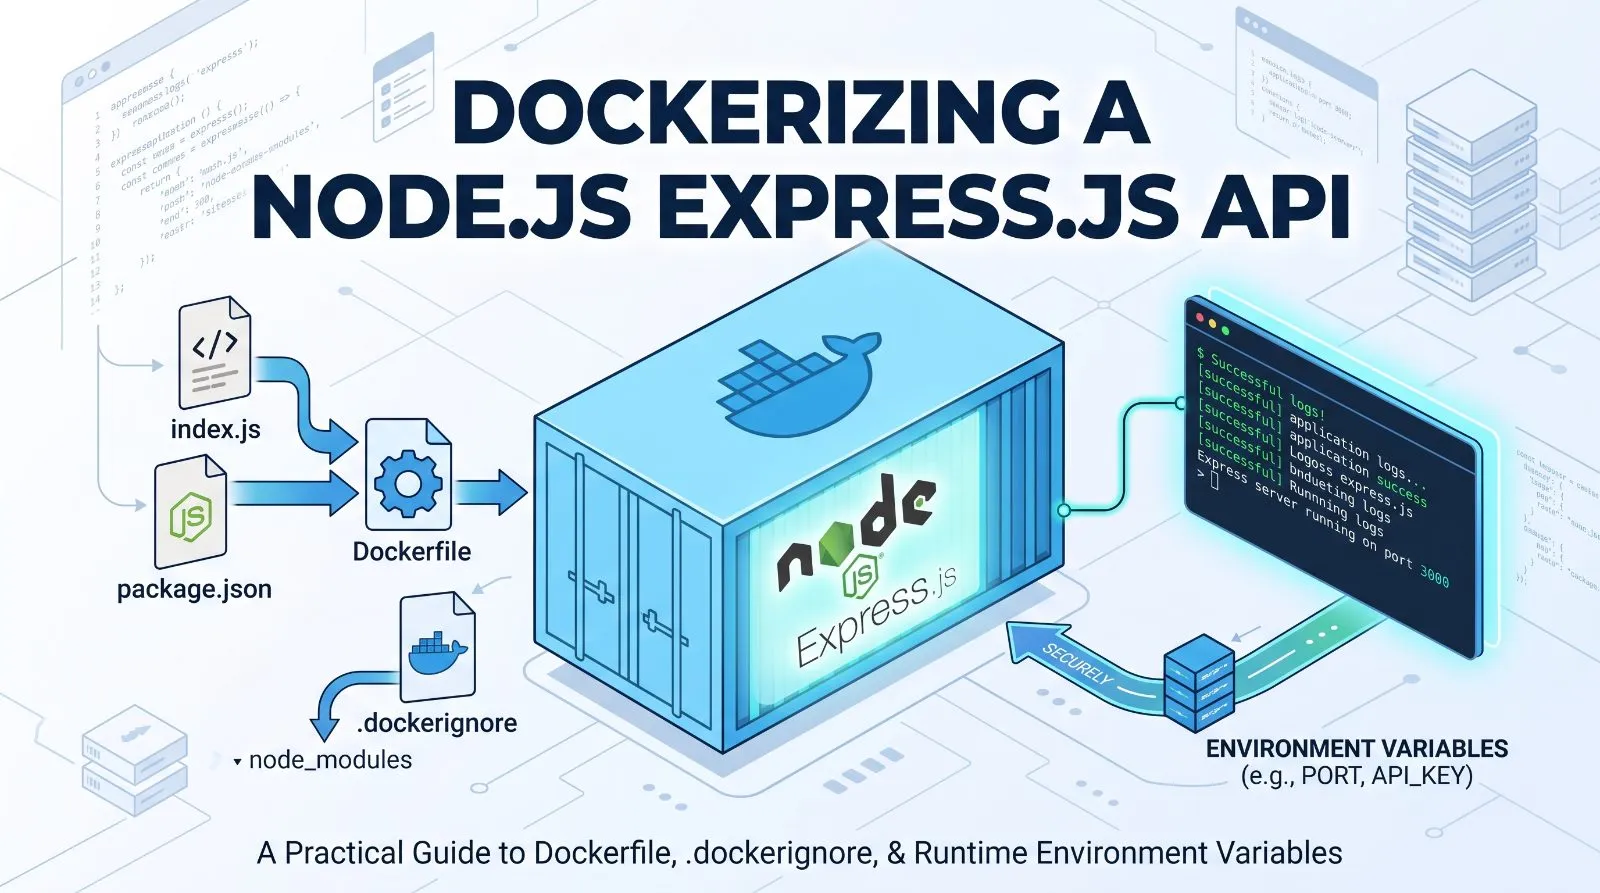
Dockerizing a Node.js & Express.js API: Dockerfile, .dockerignore, Environment Variables, and Deployment
Docker makes it easier to package a Node.js application together with its dependencies and run it consistently across development, testing, and production environments.
In this guide, we'll containerize a simple Node.js + Express.js API, create a Dockerfile and .dockerignore, build the Docker image, run the container, and pass environment variables separately when starting the container.
1. Example Node.js + Express.js Application
Let's start with a simple Express API.
A basic project structure can look like this:
my-api/
├── src/
│   └── server.js
├── package.json
├── package-lock.json
├── .env
├── .gitignore
├── .dockerignore
└── Dockerfile
Our Express server can read the port from an environment variable:
const express = require("express");

const app = express();

app.use(express.json());

const PORT = process.env.PORT || 5000;

app.get("/", (req, res) => {
  res.json({
    message: "Node.js + Express API is running",
  });
});

app.listen(PORT, () => {
  console.log(`Server running on port ${PORT}`);
});
The important part is:
process.env.PORTThe application doesn't need to know where the value comes from.
It simply reads the environment variable provided to it.
2. Create the Dockerfile
Create a file named:
Dockerfilewith no file extension.
A simple production-oriented Dockerfile can look like this:
FROM node:22-alpine

WORKDIR /app

COPY package*.json ./

RUN npm ci --omit=dev

COPY . .

EXPOSE 5000

CMD ["node", "src/server.js"]
Let's understand what each instruction does.
FROM
FROM node:22-alpineThis uses a Node.js image based on Alpine Linux.
It gives the container the Node.js runtime required to execute the application.
WORKDIR
WORKDIR /appThis sets /app as the working directory inside the container.
All following commands will operate relative to this directory.
COPY package files
COPY package*.json ./This copies package.json and package-lock.json into the image.
Keeping this step separate from copying the rest of the source code helps Docker reuse cached dependency layers when application code changes but dependencies have not.
Install dependencies
RUN npm ci --omit=devnpm ci installs dependencies from the lock file.
The --omit=dev option excludes development dependencies, which can make the production image smaller.
Copy application code
COPY . .This copies the application source code into the container.
The .dockerignore file determines what should not be copied.
EXPOSE
EXPOSE 5000This documents that the application listens on port 5000 inside the container.
It does not publish the port to the host by itself.
CMD
CMD ["node", "src/server.js"]This is the default command executed when the container starts.
3. Create a .dockerignore File
Create:
.dockerignoreA typical Node.js .dockerignore can contain:
node_modules
npm-debug.log
.git
.gitignore
.env
.env.*
Dockerfile
.dockerignore
coverage
dist
*.log
README.md
The .dockerignore file prevents unnecessary files from being sent to Docker during the image build.
Most importantly, don't copy your local .env file into the image.
Environment-specific secrets should be supplied when the container runs.
4. Why Not Copy .env Into the Image?
Avoid doing this:
COPY .env .Your .env file may contain sensitive values such as:
DATABASE_URL=...
JWT_SECRET=...
STRIPE_SECRET_KEY=...
API_KEY=...
If those values become part of the Docker image, they can potentially remain inside the image layers.
A better approach is:
Build the image without secrets.
Then:
Provide environment variables when running the container.
This keeps configuration separate from the application image.
5. Build the Docker Image
From the project directory, run:
docker build -t my-node-api .Docker will:
- 1.Read the
Dockerfile - 2.Pull the Node.js base image if necessary
- 3.Copy the package files
- 4.Install dependencies
- 5.Copy the application source
- 6.Create the final image
You can verify that the image exists with:
docker imagesYou should see an image named:
my-node-api6. Run the Container
You can now create a container from the image:
docker run -p 5000:5000 my-node-apiThe mapping:
5000:5000means:
HOST PORT : CONTAINER PORTSo requests to:
http://localhost:5000are forwarded to port 5000 inside the container.
7. Pass Environment Variables Separately
Instead of putting environment variables inside the Dockerfile, pass them when starting the container.
For example:
docker run \
  -p 5000:5000 \
  -e PORT=5000 \
  -e NODE_ENV=production \
  my-node-api
Now the application can access:
process.env.PORTand:
process.env.NODE_ENVwithout those values being hardcoded into the image.
8. Using an External .env File
For local or server deployment, you can also keep environment variables in a separate file.
For example:
.env.productionPORT=5000
NODE_ENV=production
DATABASE_URL=your_database_url
JWT_SECRET=your_secretThen run:
docker run \
  -p 5000:5000 \
  --env-file .env.production \
  my-node-api
Docker loads the variables from the specified file and makes them available to the application.
This is useful because the same Docker image can be used with different configurations.
For example:
Same Docker Image
       |
       ├── Development environment
       |
       ├── Staging environment
       |
       └── Production environment
The application image doesn't need to change just because the environment configuration changes.
9. Passing Individual Variables vs --env-file
There are two common approaches.
Individual variables
docker run \
  -p 5000:5000 \
  -e NODE_ENV=production \
  -e PORT=5000 \
  -e DATABASE_URL="your_database_url" \
  my-node-api
This is useful when you only have a few variables.
Environment file
docker run \
  -p 5000:5000 \
  --env-file .env.production \
  my-node-api
This is generally more convenient when the application requires many environment variables.
10. Create a Separate Environment Example File
Your repository can contain:
.env.exampleFor example:
PORT=5000
NODE_ENV=production
DATABASE_URL=
JWT_SECRET=
The .env.example file contains the names of required variables, but not the real secrets.
Developers can copy it:
cp .env.example .envand then provide their own values.
The real .env should remain ignored by Git.
11. Run the Container in the Background
By default, Docker attaches your terminal to the container.
For a server, you will usually want detached mode:
docker run -d \
  --name my-node-api \
  -p 5000:5000 \
  --env-file .env.production \
  my-node-api
The -d option runs the container in the background.
The --name option gives the container a predictable name.
12. Check Running Containers
Use:
docker psYou might see:
CONTAINER ID   IMAGE         PORTS
abc123         my-node-api   0.0.0.0:5000->5000/tcp
To see application logs:
docker logs my-node-apiTo follow logs continuously:
docker logs -f my-node-api13. Stop and Remove the Container
Stop it with:
docker stop my-node-apiRemove it with:
docker rm my-node-apiThe Docker image is separate from the container.
You can create another container from the same image whenever you need one.
14. Rebuild After Code Changes
When you modify the application source code, rebuild the image:
docker build -t my-node-api .Then create a new container:
docker run -d \
  --name my-node-api \
  -p 5000:5000 \
  --env-file .env.production \
  my-node-api
The important concept is:
Dockerfile
    ↓
Docker Image
    ↓
Docker Container
The Dockerfile describes how the image should be created.
The image is the packaged application.
The container is a running instance of that image.
15. A Better Production Dockerfile
For larger applications, Docker's multi-stage builds can help keep the final image smaller.
For example:
FROM node:22-alpine AS deps

WORKDIR /app

COPY package*.json ./

RUN npm ci --omit=dev


FROM node:22-alpine AS runner

WORKDIR /app

ENV NODE_ENV=production

COPY --from=deps /app/node_modules ./node_modules
COPY package*.json ./
COPY src ./src

EXPOSE 5000

CMD ["node", "src/server.js"]
The idea is to separate dependency installation from the final runtime image.
For more complex applications, the Dockerfile can be adapted further depending on whether the project requires a build step, TypeScript compilation, Prisma generation, static assets, or other tooling.
16. Deploying the Container
Once the application has been containerized, the same image can be deployed to a server or container platform.
A typical deployment flow looks like:
Developer
    ↓
Git Push
    ↓
CI/CD
    ↓
Docker Build
    ↓
Docker Image
    ↓
Container Registry
    ↓
Production Server
    ↓
Running Container
For example, the image can be pushed to a container registry and then pulled by a cloud server.
The production server only needs to provide the required environment configuration and run the container.
Conclusion
Docker gives Node.js and Express.js applications a consistent way to package and run their dependencies.
A practical setup separates three important concerns:
Application code
Node.js + Express.jsApplication image
DockerfileEnvironment configuration
--env-fileThe key principle is:
Build the image once and provide environment-specific configuration when the container runs.
This makes the same application image reusable across development, staging, and production without embedding secrets or environment-specific configuration into the image itself.
For Node.js applications, combining Docker with proper environment management, CI/CD, logging, and cloud deployment provides a solid foundation for reliable production deployments.